The Men's Guide to Sideburn Style, Trimming & Maintenance
We know sideburns can be tricky. Bad sideburns can ruin an amazing hairstyle and a great beard in one foul swoop. So how do you know which style is for you? Ask yourself a few simple questions to find the style that fits you!
5 Quick Sideburn Tips to Get Your Hair Looking Bueno in a Flash!
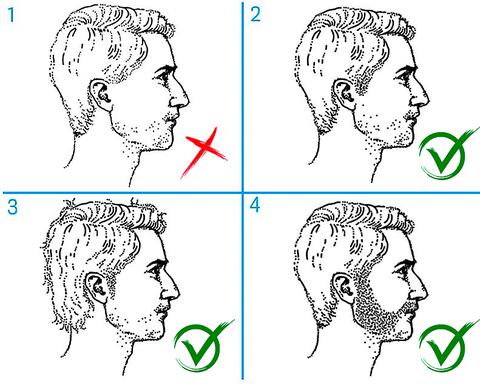
- Unless you’re bald, always have a sideburn.
- Never go above the middle of the ear when trimming.
- Choose a sideburn style that pairs nicely with your face shape and hairstyle.
- Leave a natural looking width and length.
- Don’t use both ears as a reference – often ears are not symmetrical.
- Always start conservative when trimming and when trimming start with the one that is farther down so that you can match them up.
Big Bonus Tip (watch video below): Instead of cutting your sideburn straight across what you should do is trim it at an angle to follow your jawline/beard line. This will make such a difference in terms of the stylistic nature adding a little more contour and symmetry to your face/shape!

Image Credit: GQ
Now these five tips will get you looking great in a flash. However, if you want to have the best side burns on the block and be a true trimming master, let’s go into the details!
What’s Your Face Shape?
The purpose of sideburns is to help frame your jaw line, and make a nice transition from your beard or cheeks to your hairline. So, make sure to pick a style that fits your face shape, to make this transition seamless and to show off that chiseled jaw line.

- Oval Face – Sideburns that end around mid-ear really compliment the oval face shape. Longer styles with the oval face shape may emphasize a sometimes-pointy chin that tends to occur with this face shape. Keeping them a bit shorter here will help bring attention elsewhere.
- Square Face – A longer style will work best for the square face shape. The longer style will not only help to give your face a narrower appearance, but will also offset a square jaw line. A good rule of thumb here is to go for a style that reaches to the bottom of your ear.
- Oblong – Shorter sideburns that are bit wider are a great way to reduce your face length. Leave them a bid wider here to compliment the jaw line.
- Triangle Face – This one can go both ways, depending on how wide your lower face is. Short sideburns will help balance the wide lower face to an extent. However, if the wideness occurs most prominently in the jaw line, leaving them a bit longer will help to narrow it out. If you’re undecided, this is a great face shape to rock a full beard or some nice scruff.
- Round Face – If your face is round, having longer sideburns will not only help to add a dimension to break up the roundness, but will help to make your cheeks look longer, accentuating your jaw line.
- Diamond Face – Medium length sideburns seem to work the best with this face shape, ending right above the mid-ear point. Again, this face shape works amazing with a full beard or scruff to help narrow the jaw line and hide a prominent chin.
What Style Cut Do You Have?
Once you’ve established how far down your face you want your sideburns to go, it’s important to make sure to have a width and hair length that compliments your cut. If your hair style is longer, shaggy, or a bit messy, your side burns should reflect that with a bigger width and a bit more length. Vice versa, shorter, tighter cuts should be accompanied by side burns the have a more clean-cut look. Remember, your sideburns need to provide a seamless transition from your cheeks to your hair line. If you notice a drastic difference from your sideburns to your hairstyle, so will other people. Keep it matching and looking amazing.
Are You Bald?
Listen guys, it happens. Don’t stress about it. However, if you are bald you should NEVER rock side burns. If you want to grow a beard make sure to take it all the way up to your ears, but if your face is clean shaven and so is your head, the sideburns need to come off too.

How to Maintain the Look
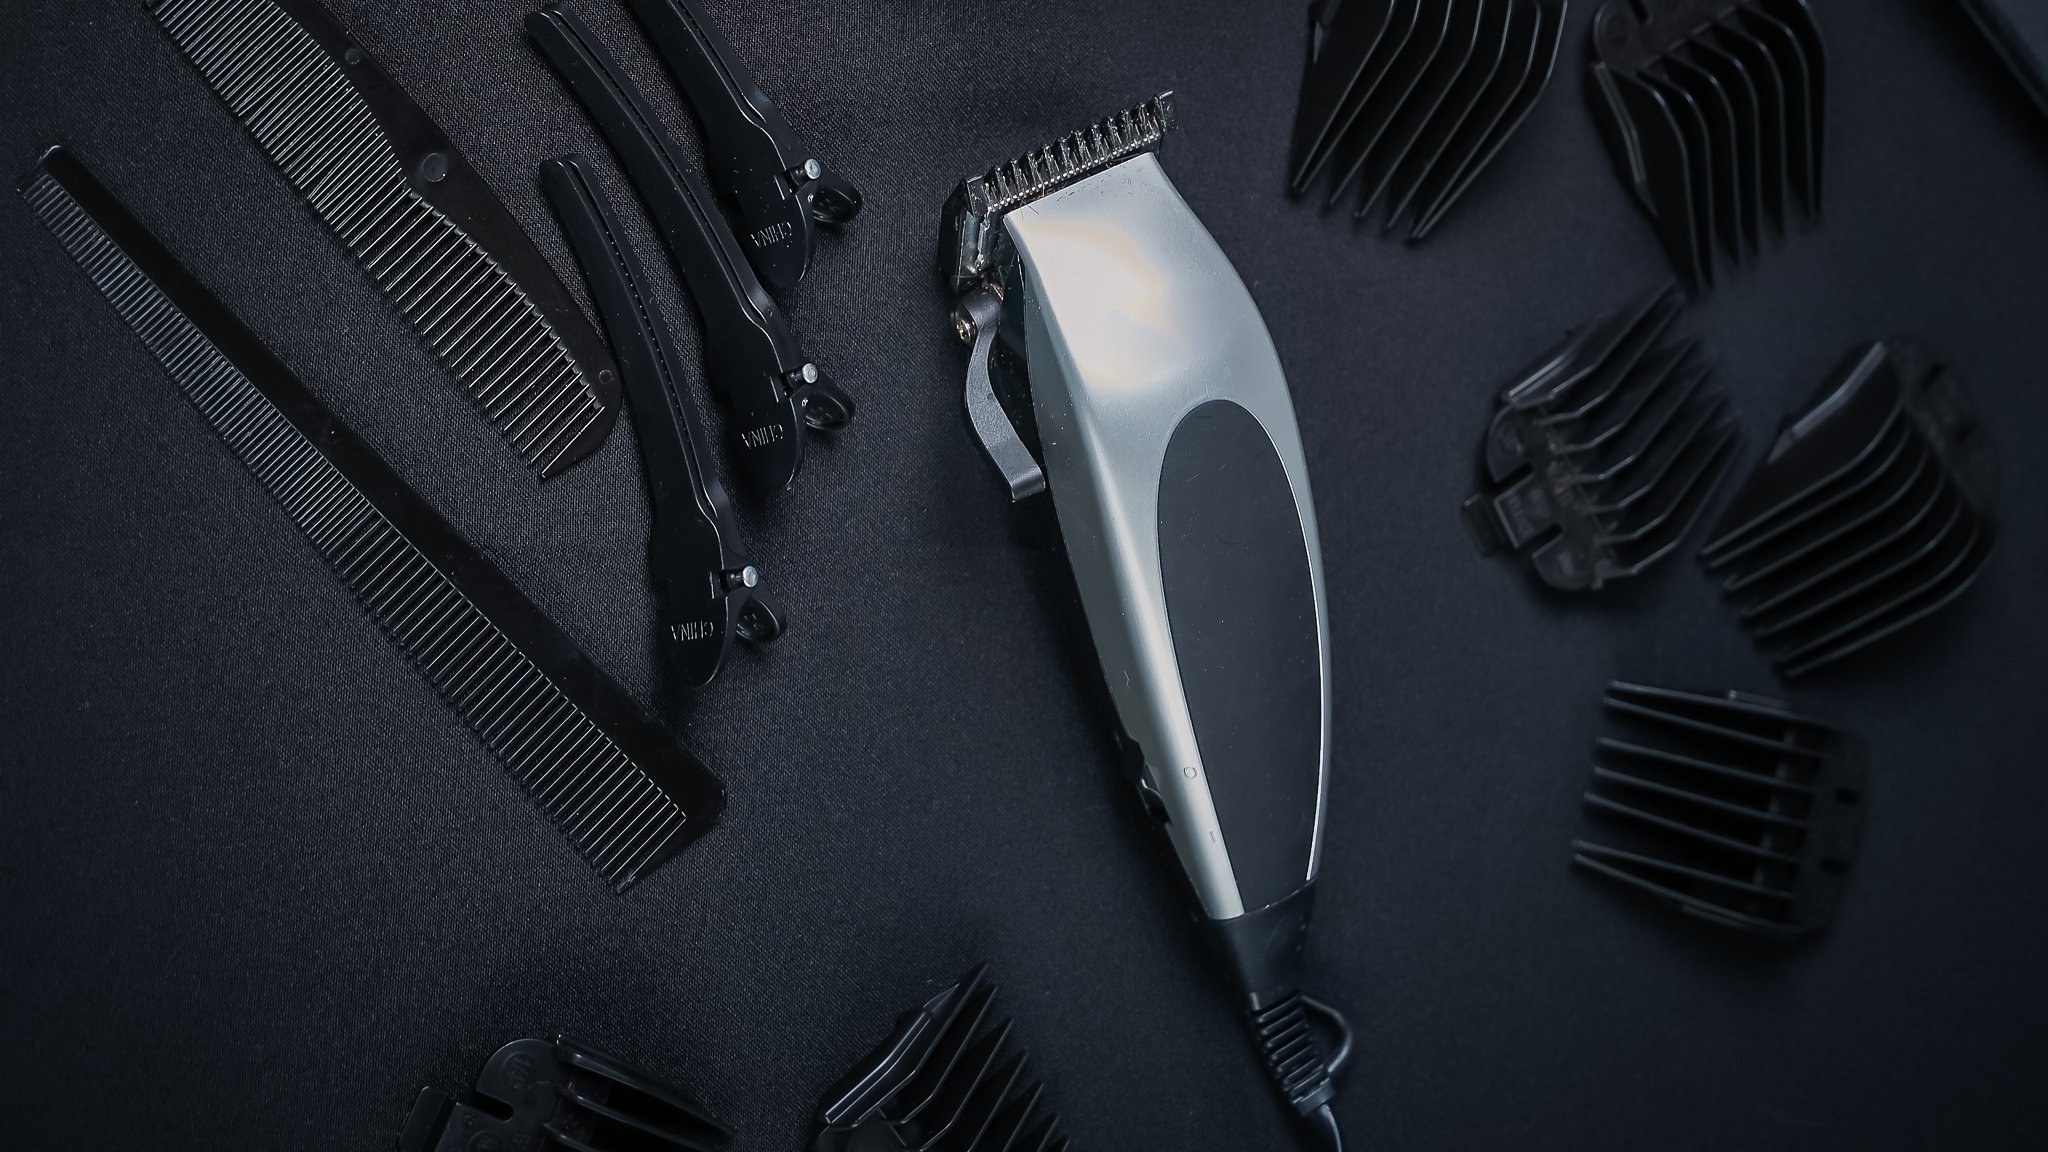
Ok you’ve locked down your style and length, now let’s talk maintenance. Hopefully you won’t have to do much after a fresh cut. Ask your barber to taper your sideburns to try to avoid having to do it yourself; but if you need a trim up in between trips to the barbershop, this is what you need to do.
- Start with the side burn that’s the shortest to create your first end line. Starting with the shortest one allows you more leeway on trimming. If you accidently go too short on this side, you’ll at least have the length on the other side to even them out. Using a decent quality trimmer, you’ll start with no guard. Flip the trimmer over so the teeth of the blade are facing your cheek. Pick an end point and create a straight line, parallel to the floor. If you’re in doubt of where to start, always leave them on the longer side. Remember you can always go shorter, but once they’re gone, your only option is to wait for them to grow back.
- Once your first end line is created, jump to the other side and create a second end line. Do your best to make sure they are even. It’s very easy to keep jumping back and forth slowing trimming up until there’s nothing left. Take your time. Measure twice, cut once.
- After your end lines are created, use a guard to help taper them back. Again, start by leaving length and working it down shorter until you’re satisfied. The key here is to just grab and stragglers that may have gotten out of control, so don’t press to hard. Let the guard and the blade to the work. You just want to make sure everything is even, not completely shaved them off!
- Once your satisfied it’s time for the “Frankenstein Test.” Take both index fingers to the bottom of each side burn. Your fingers should be resting at an even height on both cheeks, if not go back to step one. If they are, set it and forget!

That’s it! You should now have sideburns James Dean would be jealous of! If you’re still undecided on which side burn is right for you, don’t be afraid to ask your barber. They’re pros and will know the best style for you and how to keep it looking fresh between cuts! Just remember to take it slow and be cautious. Waiting for them to grow back takes a lot longer than taking them off!
Also Check Out:
Seven Steps To a Flawless Shower
← Older Post Newer Post →


