


Razor Burn? How to Tackle Razor Bumps & Ingrowns on Your Face
Razor burn and razor bumps on the face are entirely avoidable—yes, really! You may find that unbelievable, but it’s the truth. The red blotchiness and painful bumps you get on your face and neck after you shave can be prevented, regardless of whether you have sensitive skin or not.
What’s the big secret to tackling razor burn and razor bumps? It has almost everything to do with the prep work, gentlemen. Like eating a delicious steak and romancing the spicy senoritas, shave prep work is not something you want to rush through.
With that in mind, here’s how to tell the difference between razor bumps and razor burn—plus a few expert tips on how to prevent both types of shave irritation from ruining your perfectly-smooth shave.
Razor Bumps vs. Razor Burn vs. Ingrown Hairs
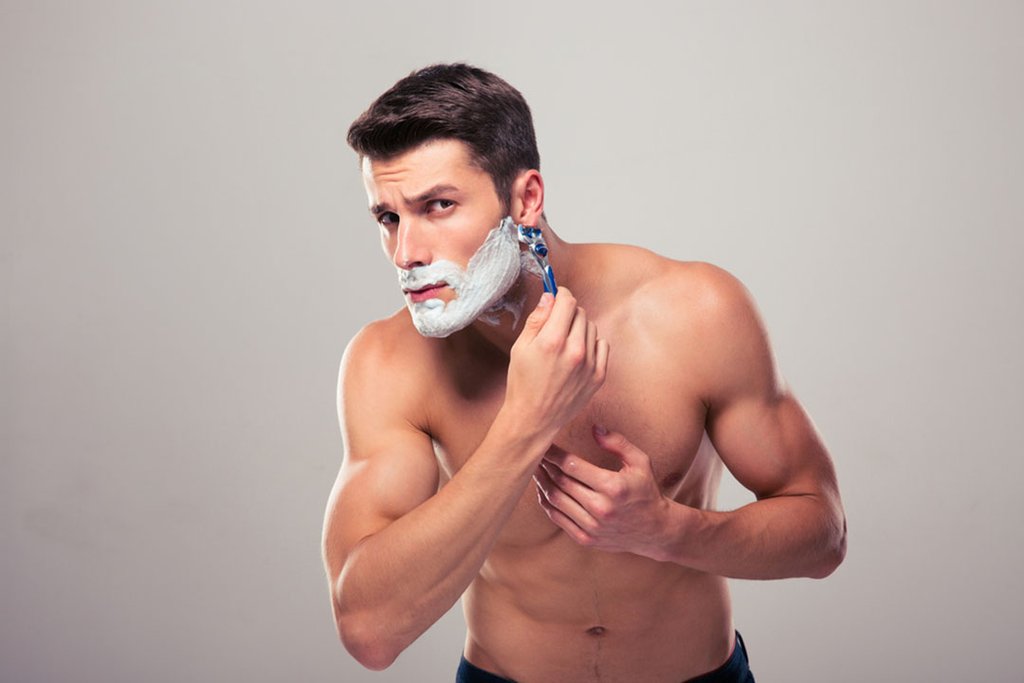
As it turns out, dragging a sharp blade (or even worse, a dull blade) across your face and neck can be extremely rough on your skin. If you don’t prep your skin for the razor, you’re going to end up with shave irritation—most notably, razor burn and razor bumps.
What are razor burn and razor bumps, anyway? Although these terms are often used interchangeably, they are actually two different things:
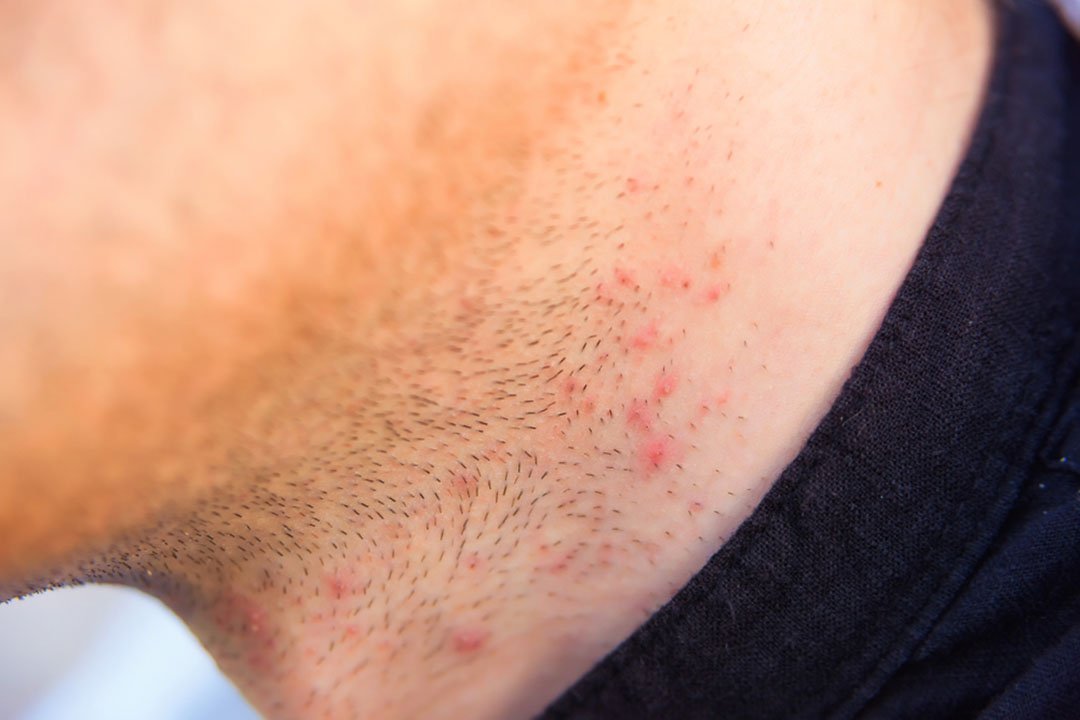
- Razor Burn: Razor burn is a skin condition that causes red, irritated skin immediately after shaving.
- Razor Bumps/Ingrown Hairs: Razor bumps are ingrown hairs that often appear two or three days after shaving. Ingrown hairs caused by shaving occur when the hair breaks off unevenly and curls back into the skin, resulting in a painful, acne-like bump.
How to Prevent Shave Irritation: A Step-by-Step Guide
So, how do you prevent razor burn and razor bumps on the face and neck? Say it with us, gentlemen: prep work, prep work, prep work. Follow these six steps, and you can set yourself up for a smooth, pain-free shave every time:
Step #1: Take a Warm Shower
Start by taking a nice, warm shower. The water needs to be warm, but not so hot that it dries out your skin. Warm water helps soften your skin and open up the pores, which is necessary to remove excess dirt and grime.
Step #2: Wash and Exfoliate Your Skin
Guys, you should NEVER shave skin that is dirty, dry or super flaky. Besides clogging up your razor blade (and making a one-pass shave practically impossible), shaving with dirty skin can increase your risk of infected ingrown hairs—ouch.
Wash your face with a mild facial cleanser and leave it on your skin for a full minute to help soften the hairs. Use a gentle face scrub twice a week to exfoliate dead skin cells from your face and neck.
Step #3: Massage Pre-Shave Oil into Your Skin
Using a soothing pre-shave oil is arguably one of the most important steps in the shaving process. Shave oil not only moisturizes your skin, but it also helps your razor blade glide smoothly over your skin for a pain-free shave.
Look specifically for a nourishing pre-shave oil with skin-soothing ingredients like vitamin E, which research shows has anti-inflammatory properties that can help calm angry, irritated skin. Massage it into your skin right after you get out of the shower and follow up with your regular shave cream.
Step #4: Use a Safety Razor
Contrary to many razor blade companies that shall not be named, more blades do NOT equal a better shave. Sure, 3 and 5-blade razors may result in a closer shave, but that usually comes at the cost of red, angry skin.
Instead, swap your multi-blade razor for a double edge safety razor that isn’t so brutal on your skin. It may look like something your grandfather uses, but he probably didn’t have razor burn or razor bumps on the face, did he? Our point, exactly. Besides, you’ll earn way more style points with this bad boy.
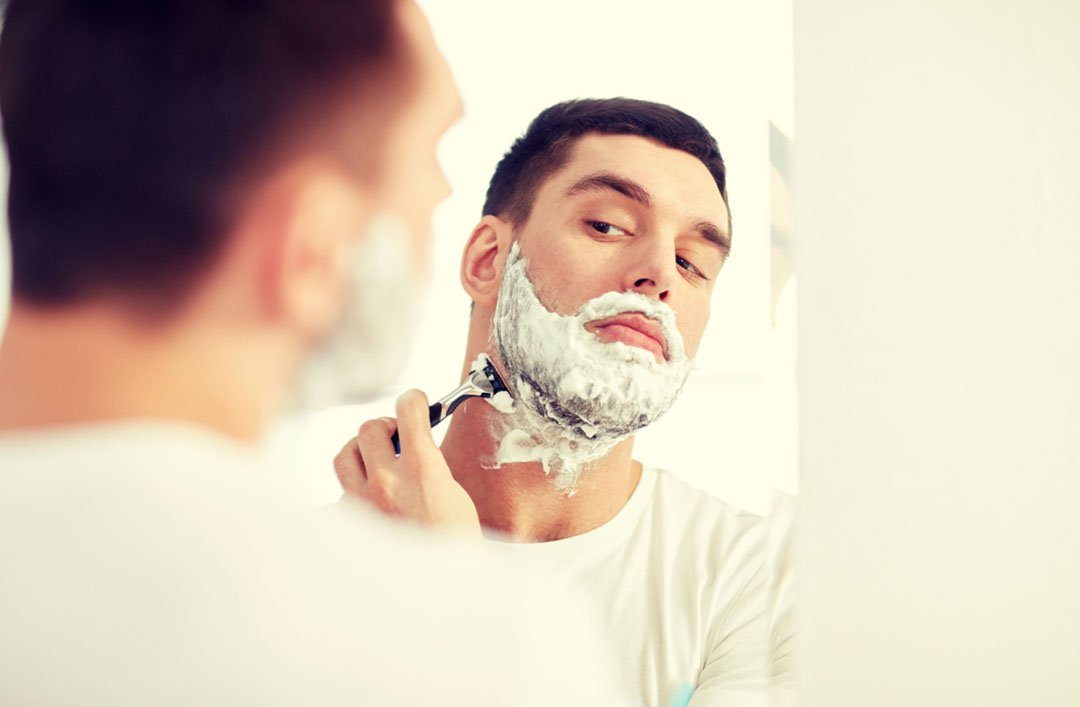
Step #5: Rethink Your Technique
If you’ve put in all the prep work and you’re using a clean, sharp blade, then you’ve got everything you need for a smooth shave. Let your blade do the majority of the work by allowing it to glide gently over the skin—no added force necessary.
Did you miss a spot? Don’t even think about scraping your blade across dry skin, otherwise, you’ll be punished by the grooming gods with red blotchiness. Instead, rinse your blade in the sink, lather up again and shave with the grain.
Step # 6: Follow Up with Aftershave
All clean and smooth? Nice work, but you’re not quite finished yet. The final step in the shaving process is to follow up with a moisturizing aftershave balm to help hydrate and soothe your freshly-shaved skin.
Aftershave makes your skin look and feel a million times better after shaving by reducing red, irritated skin. If you don’t know how to use aftershave, it couldn’t be simpler. Splash your face with cold water, pat it dry and apply aftershave evenly on your face. That’s it!
It’s All in the Prep Work
If there is one thing you take away from this article, let it be this: prep work in shaving matters. Following these simple steps could make the difference between skin that is healthy and sexy versus skin that is painful and itchy. Put in the legwork, use a clean blade each time and pick your grooming products wisely—your skin will thank you for it!
← Older Post Newer Post →